How to use soapUI to test Oracle ISG REST services
We shall use the PLSQL REST service FND_USER_PKG in this example.
You will have to generate and deploy the service to get the WSDL of the service, which will look like this :
http://adc2180071.us.oracle.com:8001/ISG-ISG-context-root/rest/default/ATGQAFWK_REST_PLSQL_FND_USER_PKG/FND_USER_PKG_REST_Service?wsdl
If you are using SOAPUI behind your organizations firewall, set the proxy settings in SOAPUI. File->Preferences->Proxy Settings.
The steps to follow to get started using the free version of soapUI are as follows :
1. Create a new SOAPUI project using File -> New
Select the check box to add a REST service.
Enter the project name.
Click OK.
2. In the New REST service dialogue box, give the service name and service
endpoint. Select the check box "Extract Resource/Method" and click OK.
3. The New REST Resource window opens. Click OK.
4. In the New REST Method window select HTTP method as POST and enter
TESTUSERNAME as the method name.
5. You should see the following SOAPUI interface.
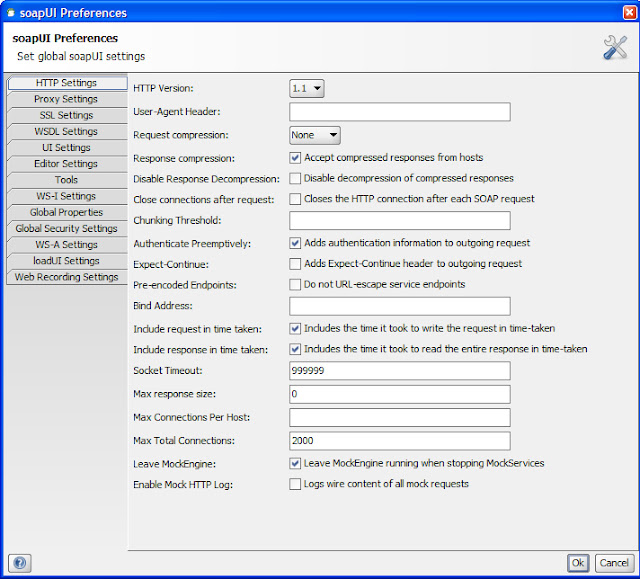
6. Select the “Preemptive Authentication” option in the global HTTP
Preferences. Specifying username and password allows soapUI to
authenticate with the service using Basic HTTP Authentication (if
challenged by the server). If you want soapUI to send credentials
directly without a challenge, then select the “Preemptive Authentication”
option in the global HTTP Preferences.
7. Enter the payload and authentication information. Make sure that the
Media Type is application/xml or text/xml. Invoke the service and
verify the response from the REST service.


No comments:
Post a Comment